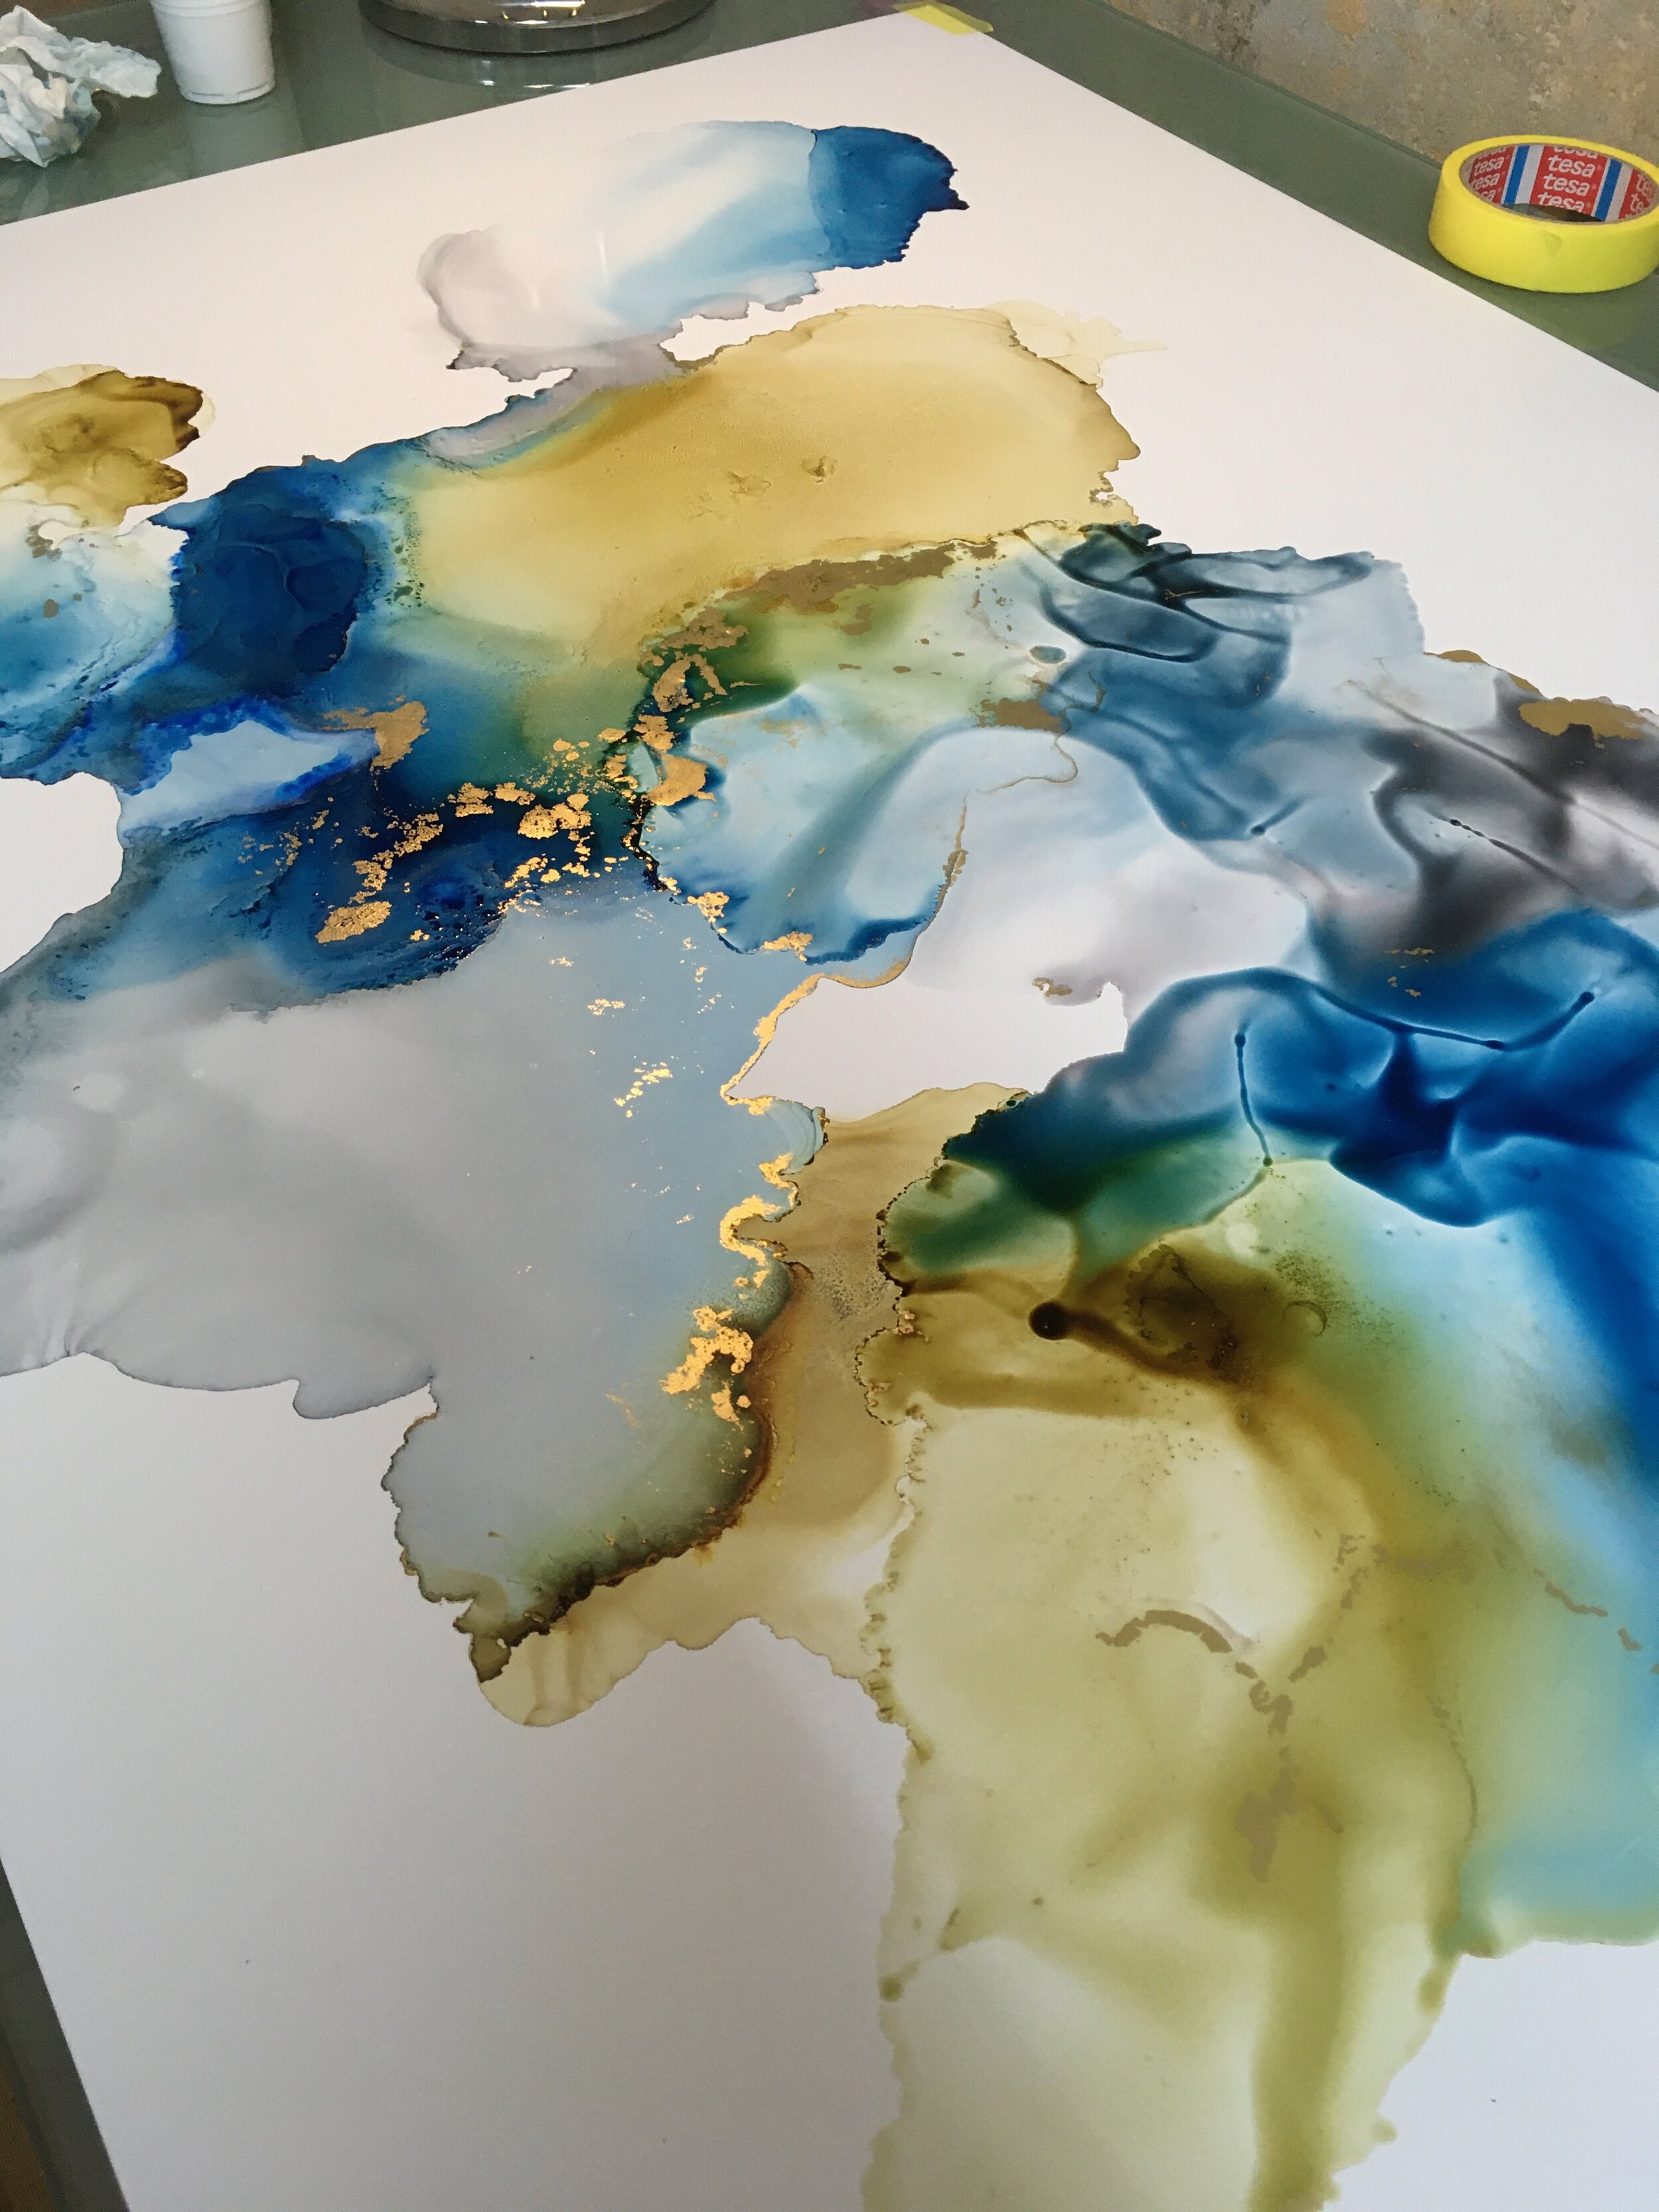
Here is a quick overview on the materials you need to create your first alcohol ink artwork!
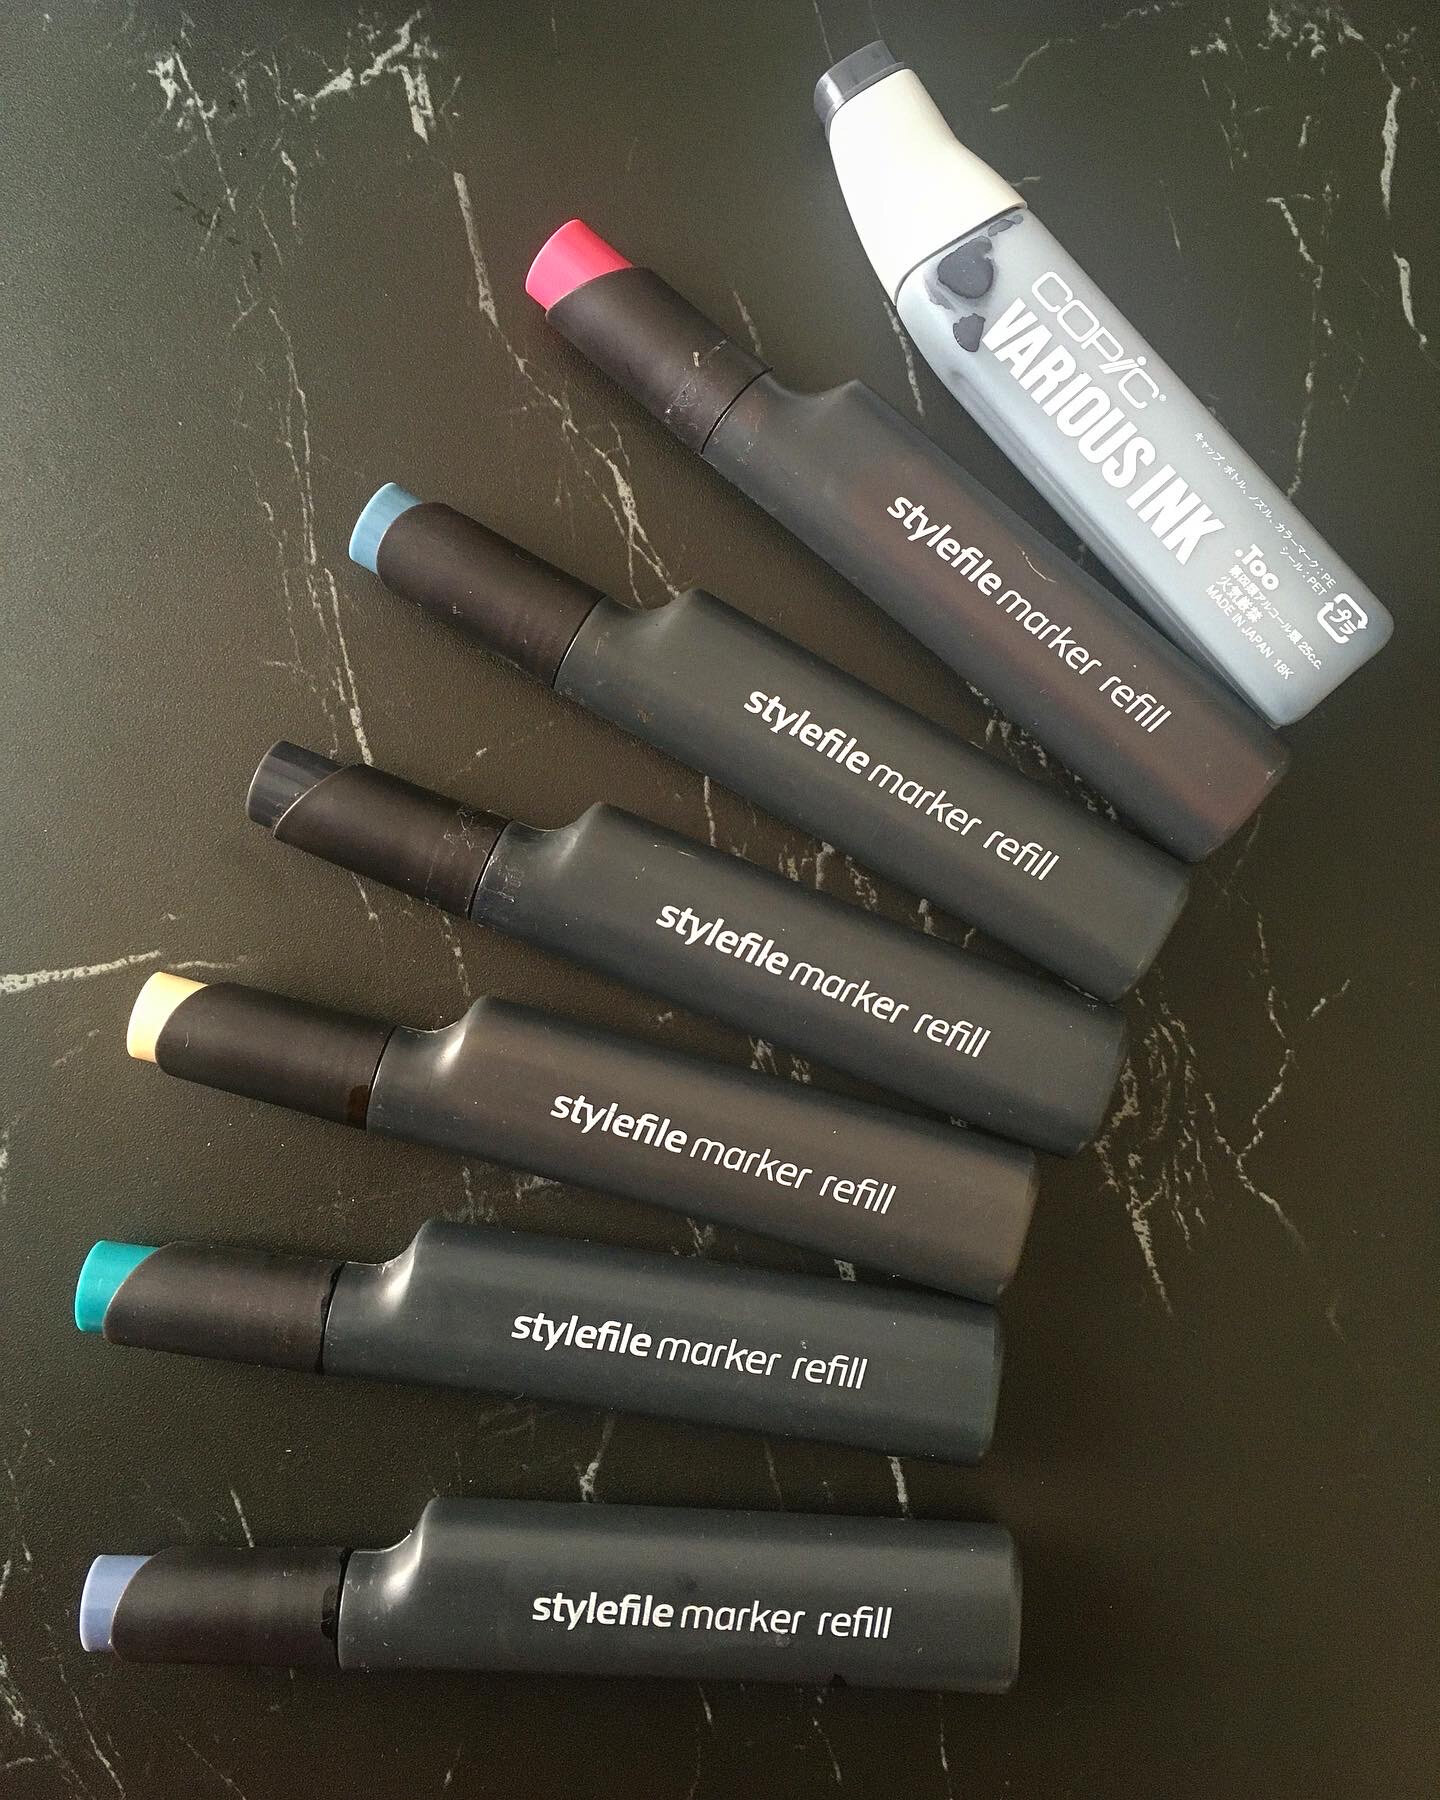


Alcohol inks
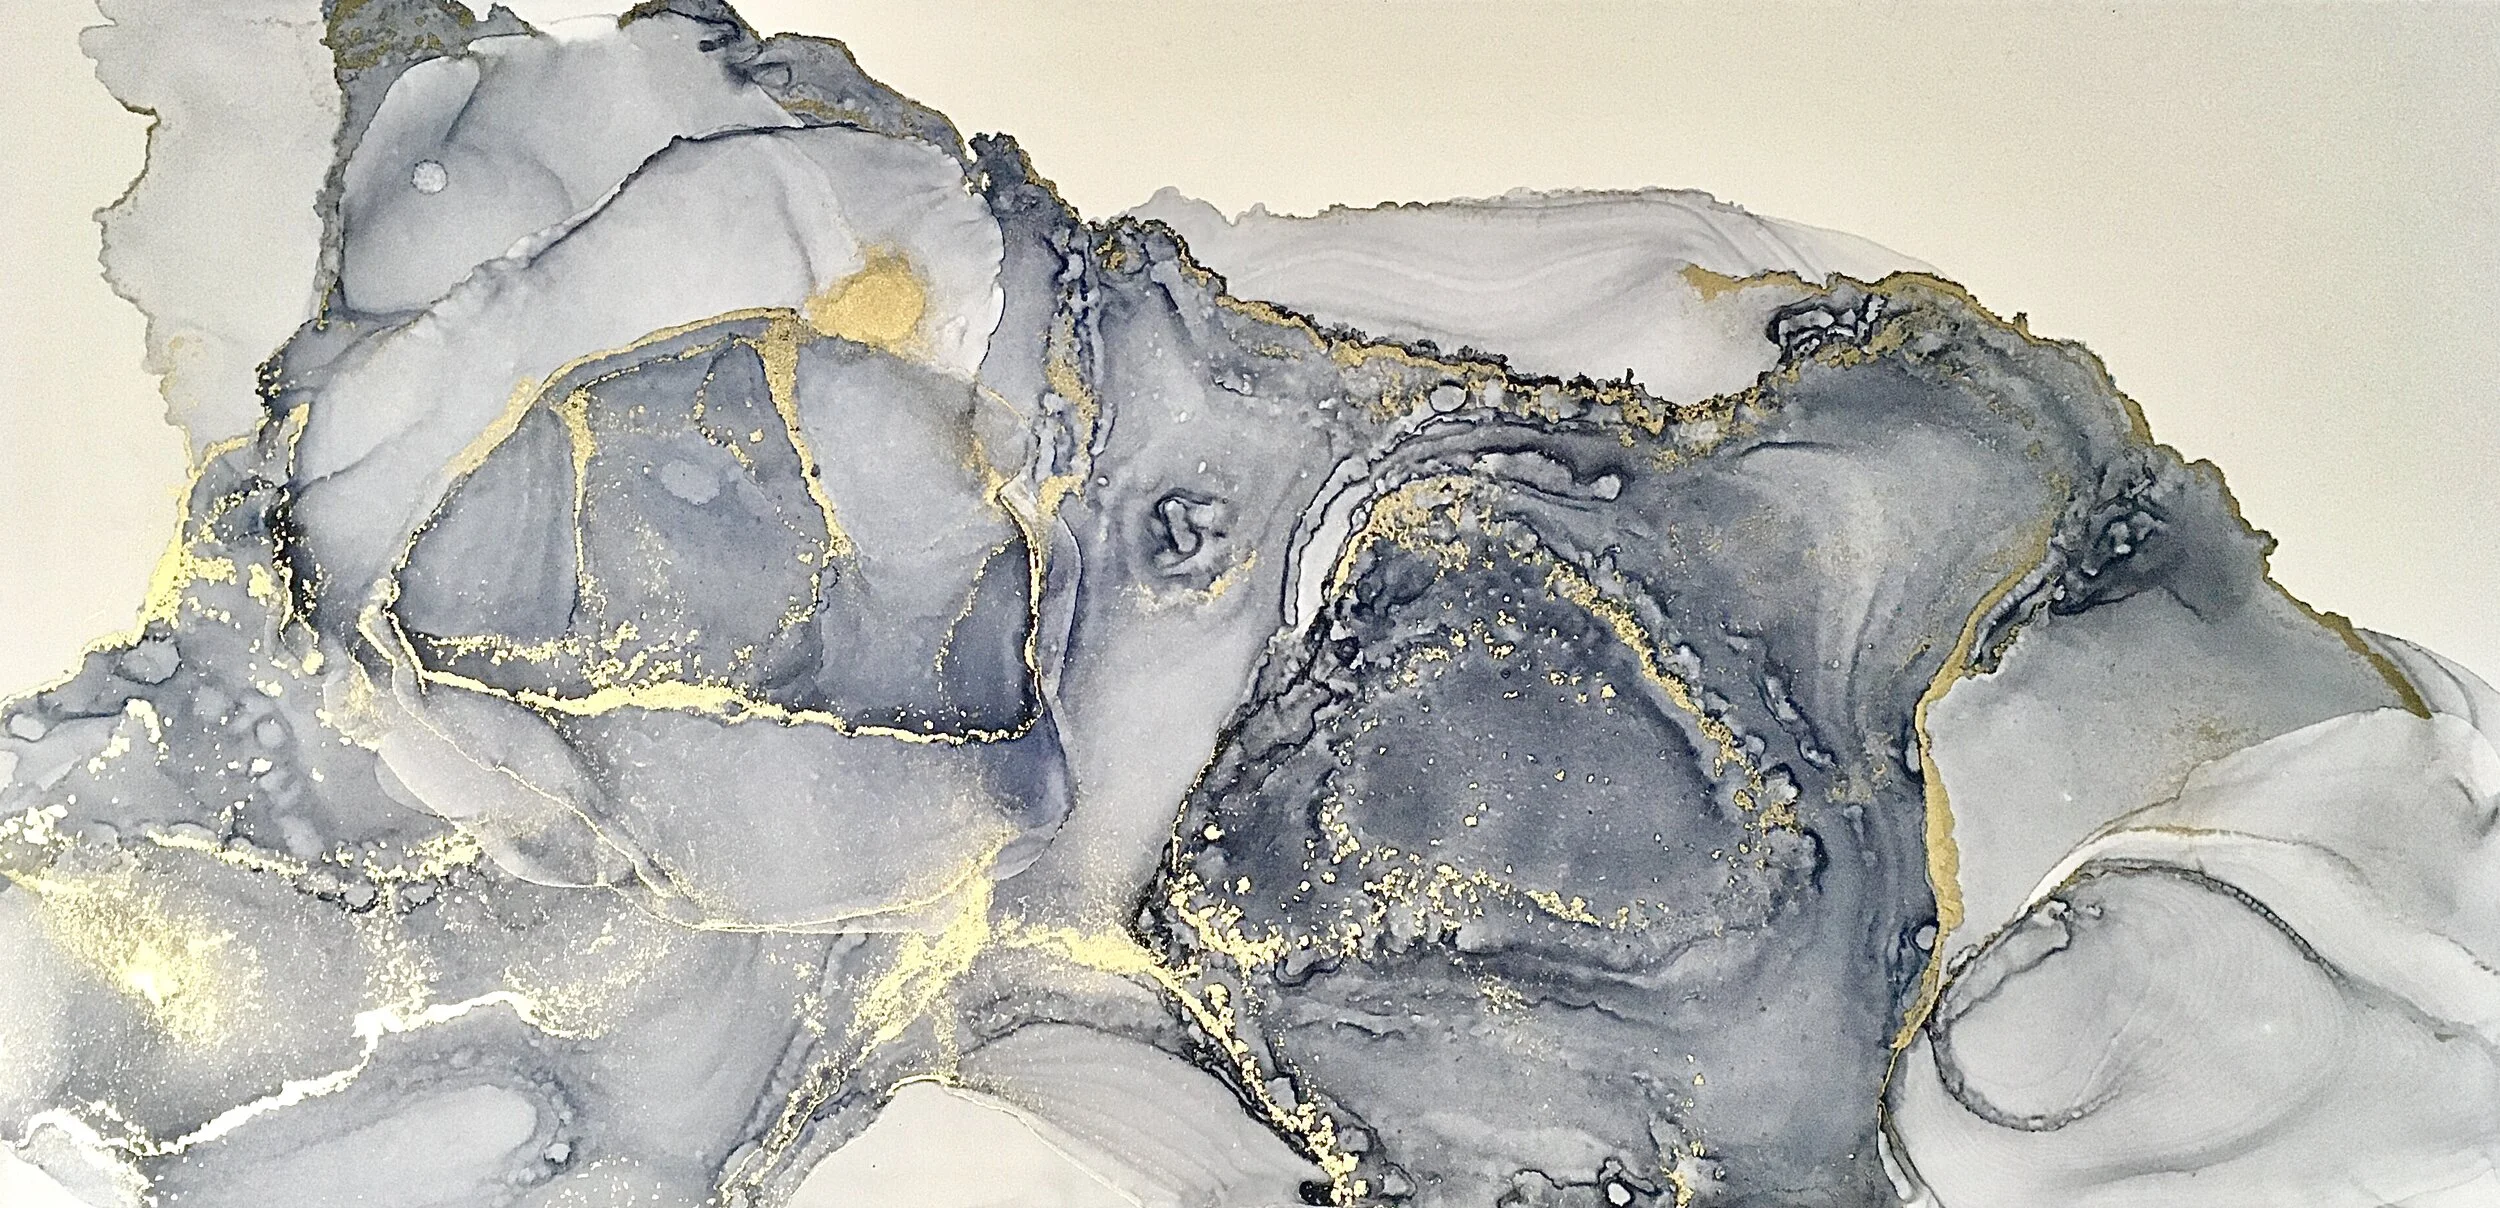
There are plenty of options for buying alcohol inks. You can go for brands like Octopus fluids, ranger or piñata or for refills of alcohol-based markers produced by COPIC or Stylefile. A nearly indefinite color palette is available, but feel free to mix your own favorite color as well! You can add special highlights to your artwork by using metallic inks, available in gold, copper or silver that shine beautifully in the sun. Opaque inks (e.g. white) are also available and behave more “heavy” which is why pre-dissolving them in alcohol can make it easier to spread them on a page.
Furthermore you will need 99,9% Isopropyl alcohol to dissolve your inks to distribute the color on your surface and to obtain the nice fading effects.
You can basically change your artwork at any time before the fixation. If you are not happy with a certain area of your piece, just add a bit of alcohol to dissolve it again. I like that you actually have this option, but it can also end up being your biggest enemy as your artwork can become a seemingly never-ending project. It is important to tell yourself to stop at some point and to just leave it as it is.
Paper
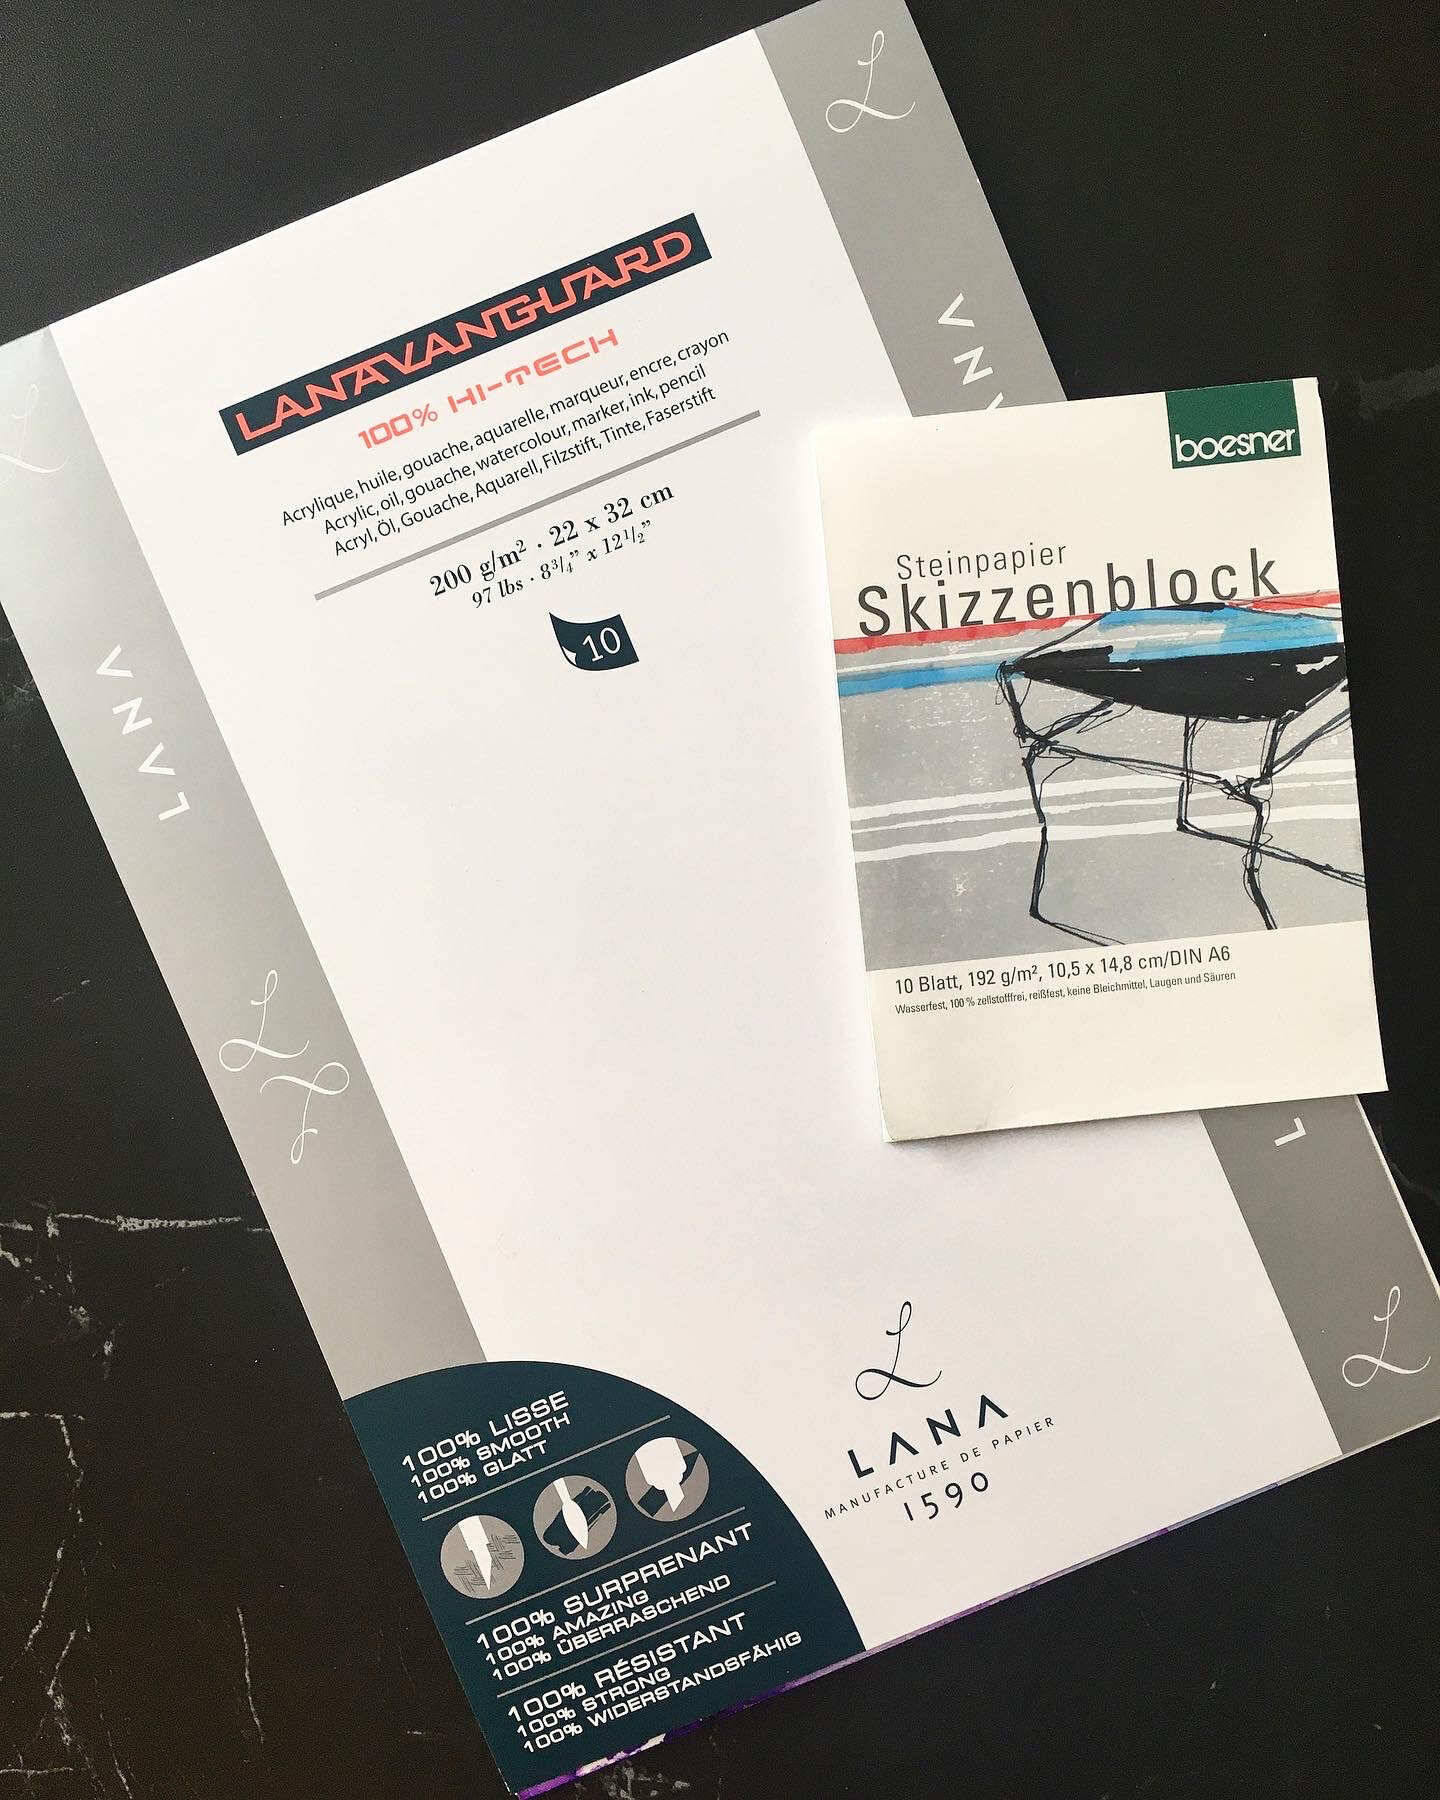
Working with alcohol inks requires a non-absorbent surface, which is why artists commoly use synthetic paper called Yupo. Yupo however can be quite expensive and I found that also white, thin PVC and polystyrol work really well and are cheaper when working on a large-scale project. Also, these materials are available in more colors (e.g black, grey…). Synthetic paper like Yupo can also be obtained from the brand Lanavanguard or Nara Papers. The so-called “Steinpapier” which is made from chalk and also works well with alcohol inks. However with this paper the colors get more of a matt finish and seem less bright, which for some cases might be what you are looking for. “Steinpapier” is also less stiff and feels more like fabric.
Synthetic paper is not your only option: You can use alcohol inks on tiles, mirrors, glass, metal panels… basically all non-absorbant surfaces that afterwards can be fixated. However, it is also possibe to work on canvas if the surface is primed appropriately.
Fixative
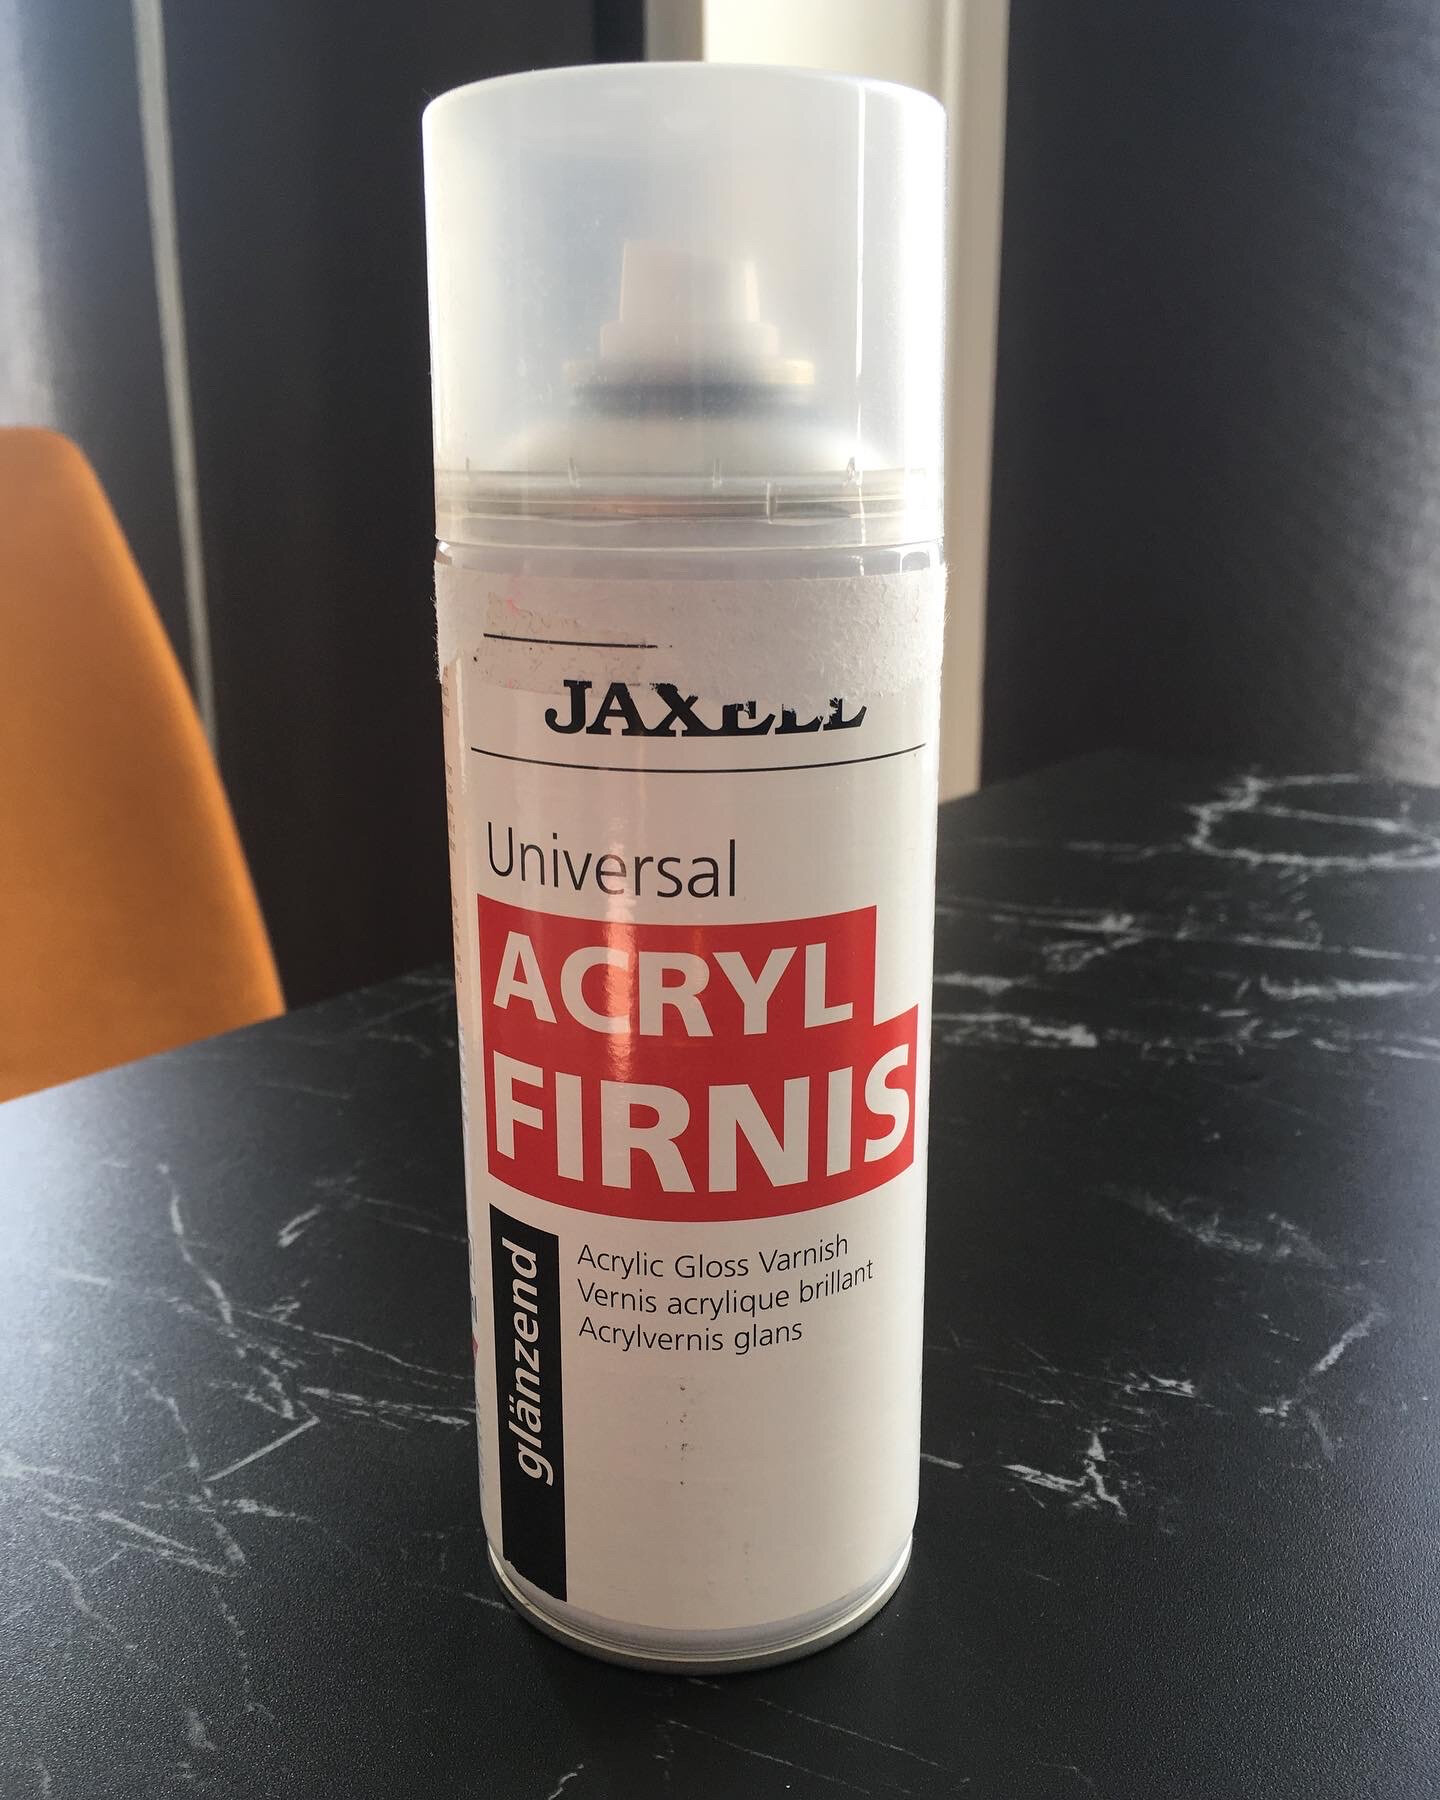
Be aware that your artwork is quite sensitive to touch and any physical impact. As a first and easy-to-use fixative I can recommend Acrylic Varnish that is available in matt and glossy. Just make sure that your varnish has a minimum amount of alcohol as ingredient. Hairspray is not suitable as your inks will dissolve again. The Varnish will protect your artwork from sun and dust.
For a more neat and longterm fixation, many artists choose to cover there art in resin (Epoxy). Working with resin needs to happen with several precautions as you will be exposed to toxic vapors! Make sure to use a mask with a proper filter, gloves and goggles and ventilate your room well!
Techniques and Tricks
TIP 1
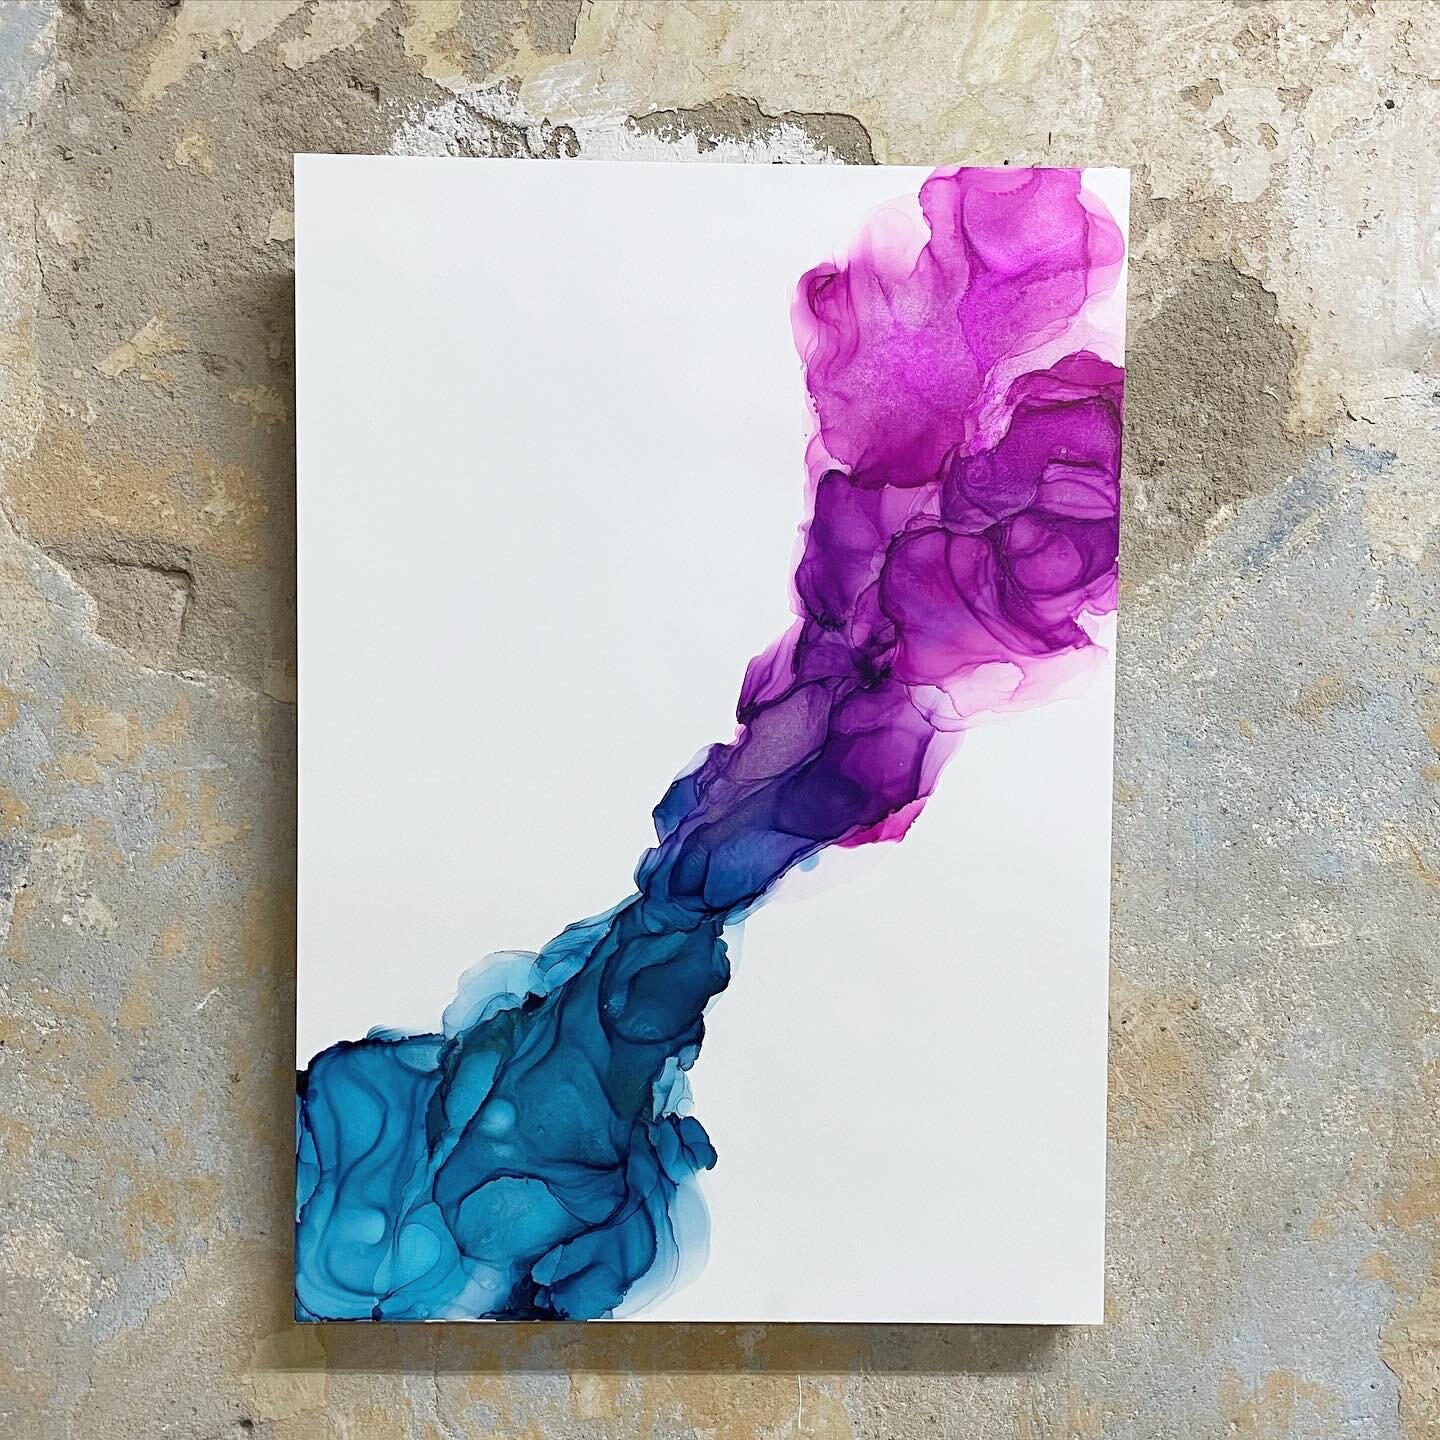
Use your mouth or a straw and blow the colors back and forth into the alcohol to create fade effect and to mix colors. I got the feeling that using this technique enables you to create areas of intense color in your artwork. You can also lift up your paper and move the inks around using swivel movements, which is especially nice for larger projects. Due to the formation of fumes while working with isopropanol, I would not recommend using your mouth or a straw to move the inks. Breathing in all the fumes will make you dizzy at some point and is not good for your health.
TIP 2
Use a heat gun, hair dryer or airbrush to move the inks and the alcohol on your surface. I personally prefer the heat gun over the hairdryer as I have more control over my movements.
TIP 3
Using a heat gun, you can achieve divers structures and fadings in your alcohol ink painting. You can move your heat gun slowly in circular motions to obtain fine lines and circles. Holding your heat gun further away helps to create larger areas with not that many structures if preferred. You will also obtain different outcomes depending on the use of warm or cold air, the way you move the heat gun (fast or slow) and the amount of alcohol being used.
TIP 4
Using an air brush can lead to really nice effects bringing more depth into the artwork. It also gives you more control over little details compaired to a heat gun where the air usually targets a bigger area.
TIP 5
There are different ways to start you alcohol ink painting. Some might prefere to add first the isopropyl alcohol and then apply some ink, others first add small amounts of color to the surface and then add the isopropanol with a spray bottle, pasteur pipette or just by pouring it. Some start at one end of the paper and work themself to the other side and some artists work directly with the whole space they have available. Watching different tutorials and how-to videos on youtube or instagram can help you to find your way of working with the inks. Moreover, books on techniques and materials are also available!
