Material and Techniques for the creation of resin artworks
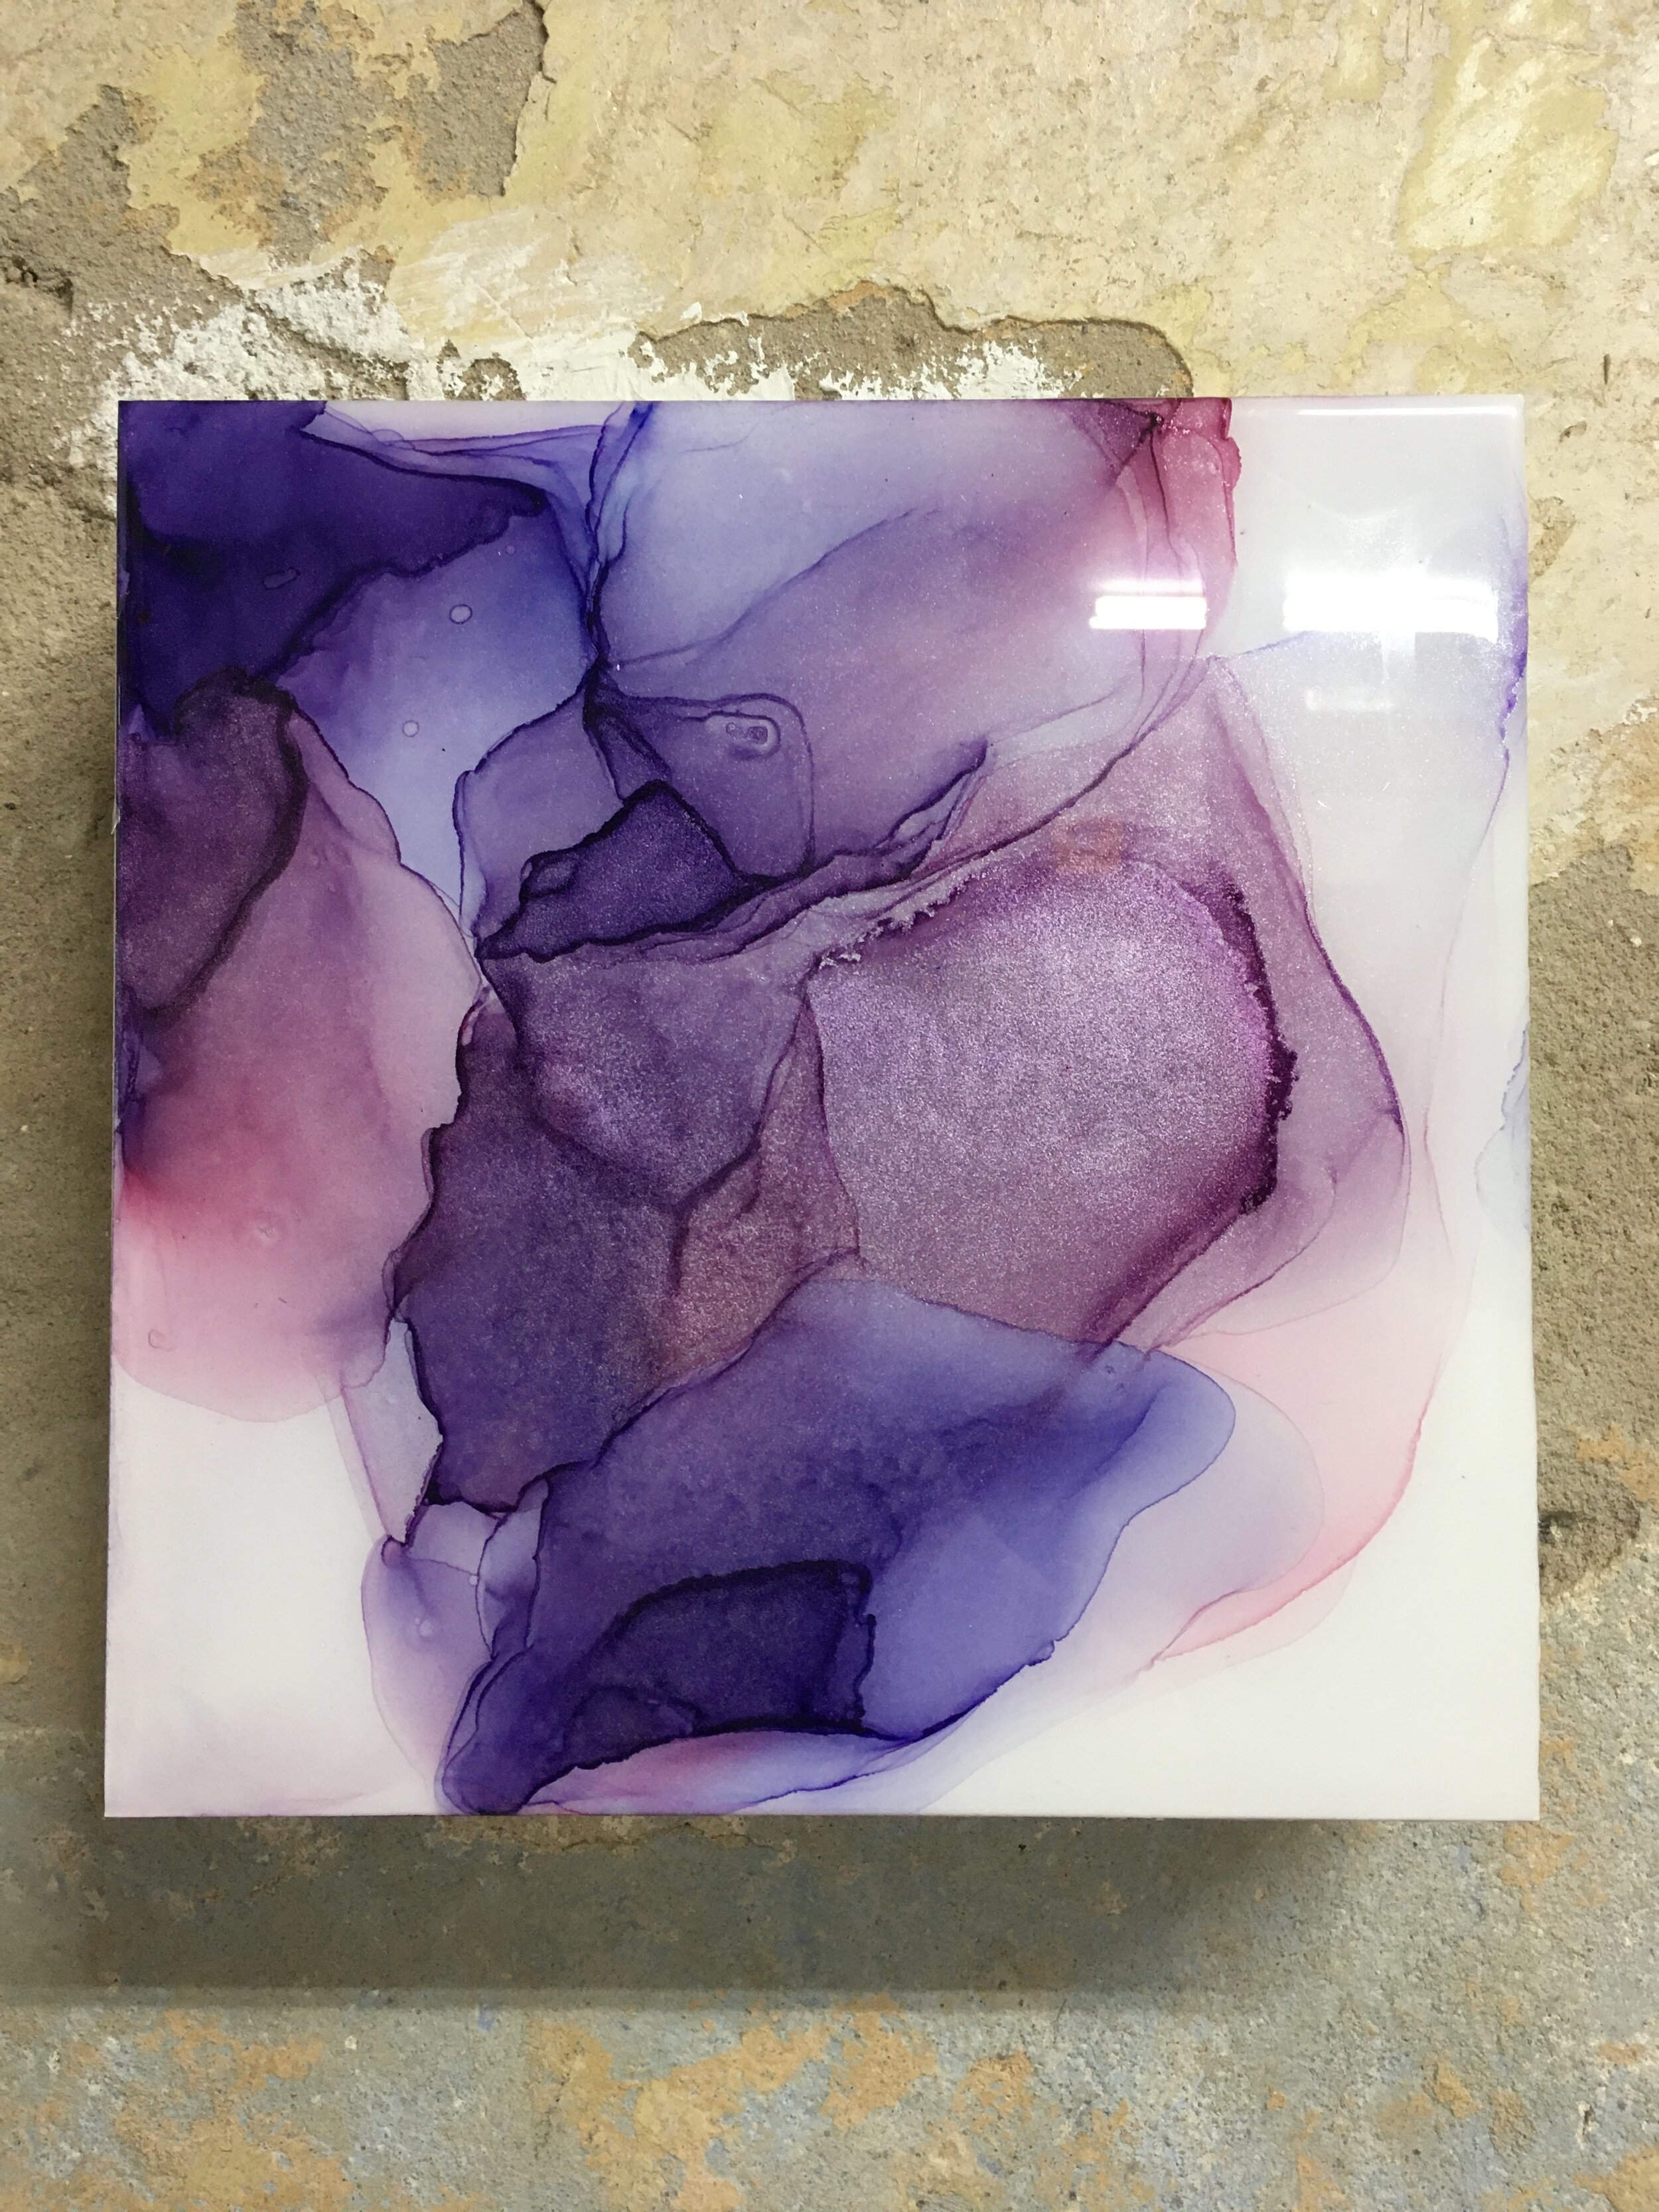
For a luxurious finish - using resin as a top coat for alcohol ink artworks
If you want to give your artwork a really shiny and professional look you can consider to cover your artwork with resin (Epoxidharz).
First of all, when you work with resin you need to take some precautions:
Always wear long clothes and gloves to protect your skin
Wear a respirator mask that protects you from potentially harmful fumes that you are exposed to while working with resin
protect your work area - resin is nearly impossible to remove depending on the surface
Consider glueing your artwork to a wooden art board that is primed with white gesso. You can buy art boards in different sizes online - either already covered with gesso or in plain wood. You will need wood glue to bring your artwork onto the surface of the art board. You can use tissue paper to protect your art while using a pressure roller to press the synthetic paper to the wood. Now, let it dry.
Resin
There are different kinds of resin available and all differ in their features, price and quality. Thus make sure to inform yourself in detail before you start working. Some can harden within 40 min which makes it challenging when working on a large piece. Others stay fluid for 4 hours, allowing you to also paint with the resin or make changes to your artwork. Most of the time, it takes a few days until the resin is fully cured and exposing it to UV light speeds up the curing process. Resin is also available in different viscosities. While a low viscosity resin is suitable for a simple thin top coat for your aftwork, it will not be the best choice for painting with resin. For painting with resin I would reccommend using a high viscosity resin as this ensures that your painting will stay the way you poured it.
However, what you should always do first - and what I have learned the hard way - is to check how the resin behaves with different alcohol ink colors. It is really important that the artwork is well fixated with varnish before using the resin as colors can fade or change in the process. There are also specific resin inks or pigments you can buy instead of using alcohol inks or acrylics.
How to cover your painting with resin:
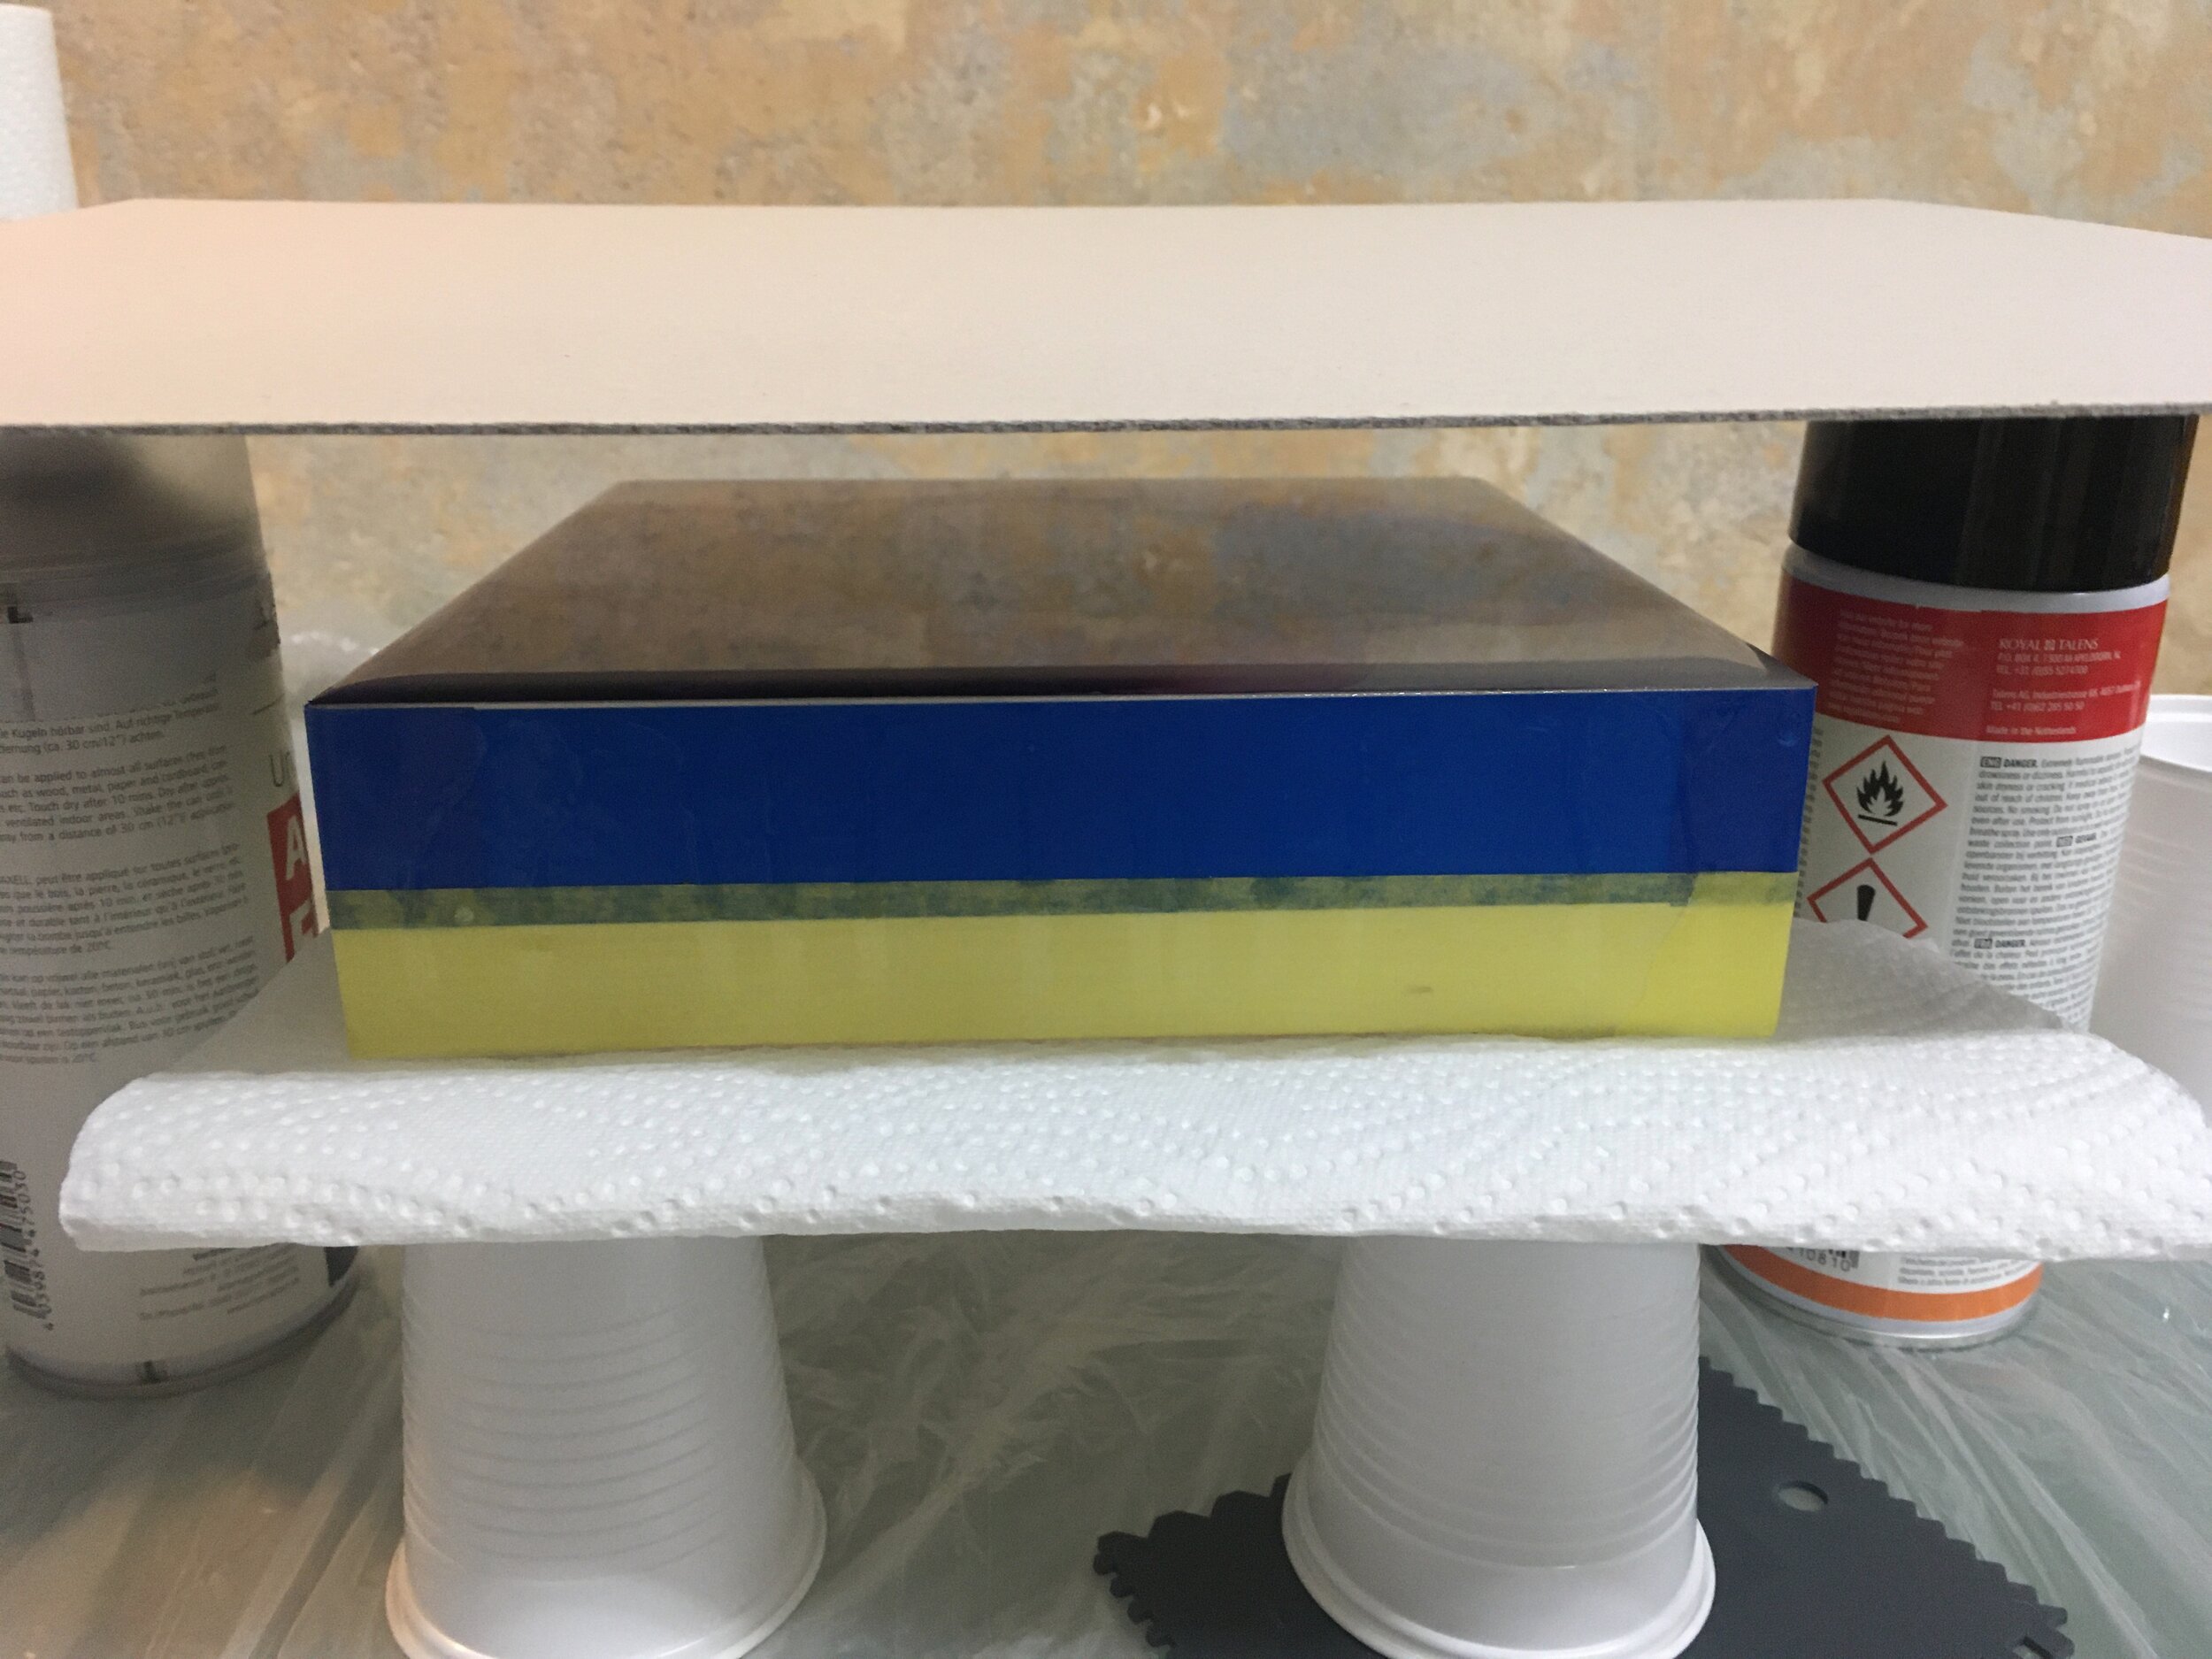
Optional: Use tape to protect the sides of the wood panel from being covered with resin. Don’t go for the cheapest option here. You need tape that sticks really, really well!
Remove all the dust and dirt from the surface of the painting.
Prepare your working area and use a tubular level to make sure the surface of your artwork is straight. Use plastic cups or wood pieces to raise your art from the desk / floor. This way the resin drops down and your wooden art board will not fuse with whatever is underneath.
Weigh the appropriate amounts of resin part A and B (usually mixed in a 1:2 ratio). Make sure to use a clean cup or bucket that you do not need anymore or something made up of silicon that can be reused. Check out the manufacturers’ protocol for more details on the handling of your choice of resin.
Mix the two components very well! Usually it is recommended stir up to 3 min, then switch to a new, clean container and stir again continuously for another 3 min.
Pour the resin into the middle of the painting and use a spatula or similar to distribute it from the middle to the edges. Make sure everything is covered well and that the resin surface looks straight.
Use a heat gun to remove air bubbles that emerge while mixing and pouring the resin. Do not use too hot temperatures and keep a distance of at least 15-20cm.
Let the resin become solid. Cover your piece to protect it from potential dust and dirt particles and let it cure overnight (depending on the resin).
The next day, remove the tape from the sides of the wooden art board.
Done!
I just started working with resin, so I am definitely no expert. Please inform yourself in advance to stay safe while working with resin!
Resin Artworks
You can use resin basically on any solid surface. I prefere wooden art boards or aliminum plates. First, you need to prepare the resin by mixing resin and hardener in the indicated ratio and make sure to stirr for about 6 minutes.
Separate the resin into different cups and add either alcohol inks, resin colours, acrylics or pigments to stain the resin as you wish. Mix well.
You can then start to apply the resin either by pouring from the cup or using wooden spatulas or similar onto your art board. There are different ways to do that and it’s always good to experiment a lot. You can then use a heat gun to push the colors into each other and create some nice effects and to remove air bubbles.
You can add stunning effects with great depth to the artwork by applying multiple layers of resin.
Addtional tips
Ikea storage boxes a suitable cover ups for your artworks. On the right image you can see how I protect a resin piece from dust and dirt flying around. Some also recommend the use of air purifiers.
The artwork on the right is also an exmple of an artwork that I - unintentionally - poured using resin with low viscosity. I originally planned on having a golden part in the middle that separates the white and the black part. However, the resin dropped over the edges and this is what I saw when I came back after letting it cure for several days. Not quite how I left it, but I still like the outcome!
Coasters
There are plenty of silicon moulds available in different shapes and sizes that can be used with resin. Many artists or DIY people use them to create jewelery, pendants, bookmarks, trays or coasters. I was interested in doing some coasters with the resin that was too low in viscosity to use it for artworks. I therefore obtained some silicon moulds from Dipon in two different shapes (square and hexagon) that are about 10 x 10cm in size. You have to prepare the molds in advance using a spray that will later help to demould your coasters. Polish them with a micro fiber cloth. Then you are ready to go! Now you can pour your resin into the mould - either pre-stained or you can use clear resin and let some color drop into it. Some people also use dried flowers to enclose in their resin art.


